"WELCOME to my RC Project."

PT-20/40 MkII

I'm an old model builder from way back.  I began building back in the 70's, crash most of the planes I flew.  Didn't have much money then so what I had wasn't all that great.  I enjoyed flying but lets face it this is a adults sport, you need money to do it right.  I decided to get back in it now that I'm a lot more solvent.

PT-20 Photo

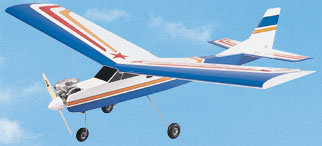
General Info

Kits include all assembly hardware plus heavy duty landing gear and materials for a bolt-on or rubber band-attached wing.

Larger, extra-stable PT-40 MKII takes a .40 engine - a size the pilot could likely reuse in future models.

Ideal for small flying sites, PT-20 MKII also lowers startup costs by using an economical.20-size engine.

Innovative "interlocking I-beam" engineering simplifies wing construction and maximizes strength. The ribs plug securely into spars and webbing to maintain proper alignment.

PT wings are built with ailerons for full 4-channel control, but they can be locked in place for 3-channel operation. Leading and trailing edges come pre-shaped for easy assembly.

Optional Trim Scheme Packages simplify covering

[ Check out reviews by R/C Report & R/C Modeler Magazine ]
PT-40 MKII
Stock Number: GPMA0118
Wingspan: 60 in (1520mm)
Wing Area: 672 sq in (43.3 dm2)
Weight: 5-6 lb (2270-2720g)
Wing Loading: 17-21 oz/sq ft (52-64 g/dm2)
Fuselage Length: 52.5 in (1335mm)
Requires: 2-stroke .35-.46 cu in (5.5-7.5cc) or 4-stroke .40-.52 cu in (6.5-8.5cc) engine & 3-4 channel radio with 3-4 servos & 2+ rolls of MonoKote
Parts Listing - Accessories Needed - Product Manual v1.2
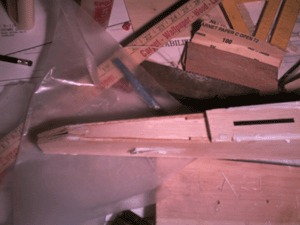
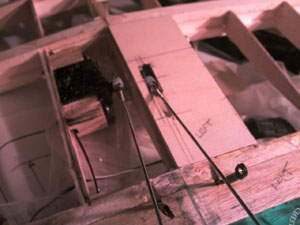
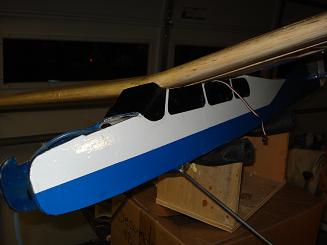
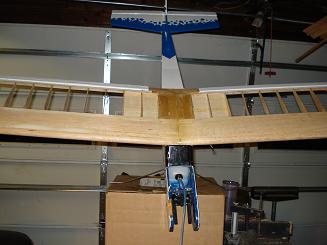
I began by ordering a set a plans I found in a magazine. I ordered a set of planes for a "Bristol M1"  I ordered some balsa and basswood and began building.  Since it was the dead of winter I wasn't much of hurry to get anything finished.  The plane took on a life of its own.  I worked on the cockpit.  then a friend gave me a copy of a CAD program.  That was it I was off the edge.  I scanned the planes into my computer, relocated the cockpit five times, built four different ones and fitted them on the plane.  I finally settled on the a look more like the H-1, Howard Hughes' speed plane.  I still need trainer type wing on it so I read about ailerons and selected one with a flat bottom.  I drew out the parts, cut them out with my band saw and glued them with carpenters glue.  A friend intruded me to CA, WOW!!!!   Below are a few pixs of that plane, as of yet unfinished.  The cowling is from a corsair and the tail section is also of my design.  I'm currently working on wheel pants taking the look of the GeeBee racer type.  I currently have a 1.2 OS engine which i plan to use.  Anyway its a far from finished, one of those forever projects.
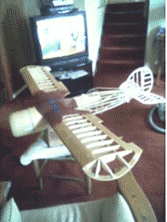
I'll do a page on this plane as time will allow.

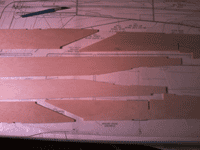
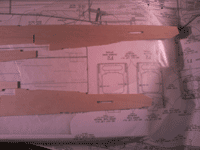
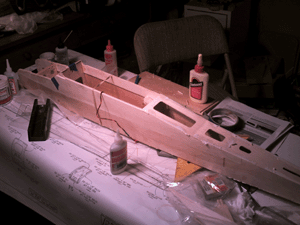
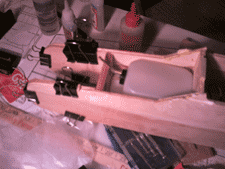
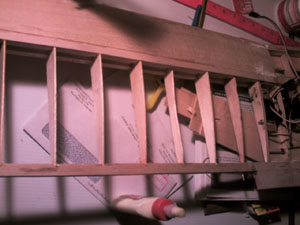
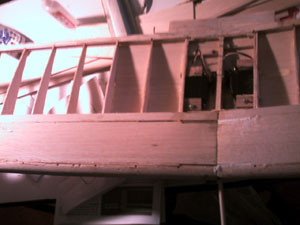
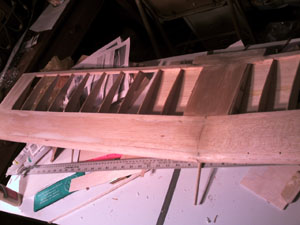
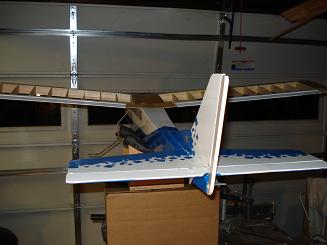
But on with the PT-40 project.  I chose the 40 version just because I like big.  I would love to of built the 60 but first it is time to get in the air before winter sets in and I wanted to learn more of modern building techniques.  I have to learn to build cleaner, tighter.  this ill be a good project to do that. 

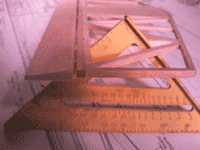
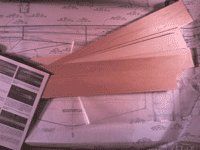
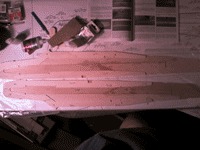
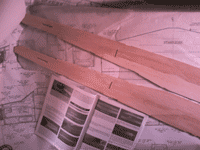
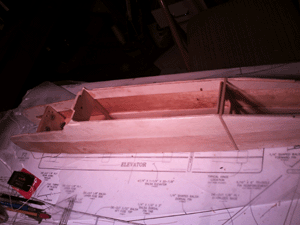
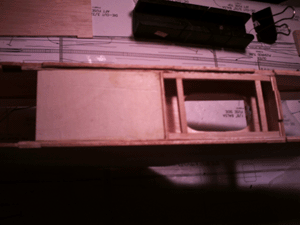
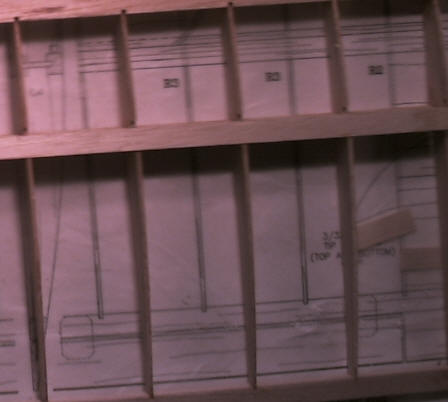
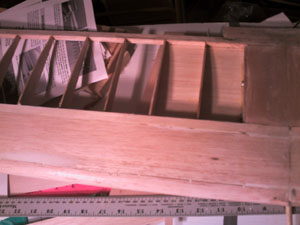
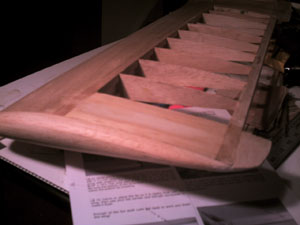
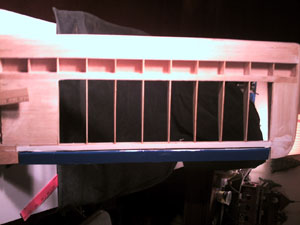
First off I'd like to say the box came in the mail in very good shape and quickly from Tower Hobbies.  The price was good at 70$.  I opened the box and found all the wood packaged neatly and rubber banded nicely.  The kit came with a black and white manual with good explanations of assembly and even a section on glues and tools.  Even explained the different types of woods being used. I read the manual and began with the stabilizer.                                                                         <top>
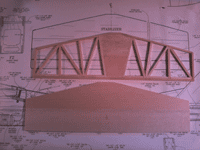
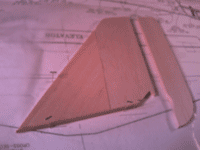
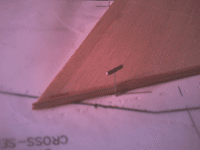
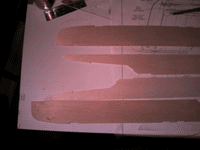
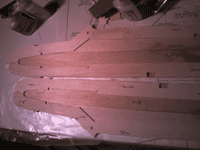
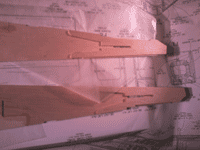
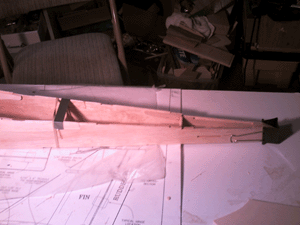
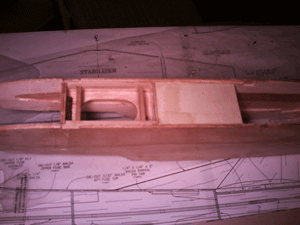
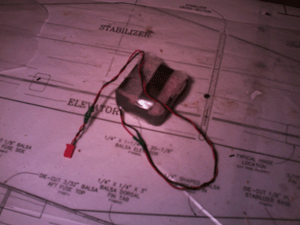
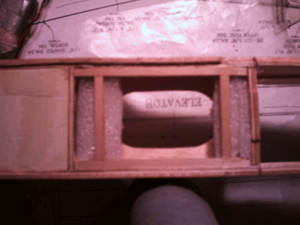
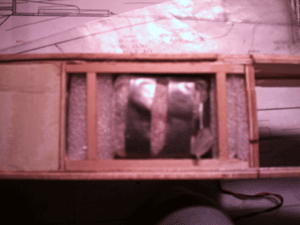
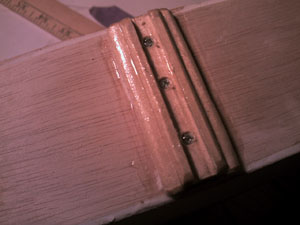
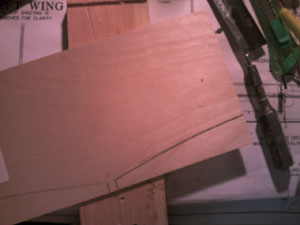
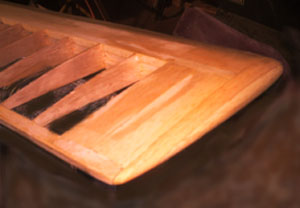
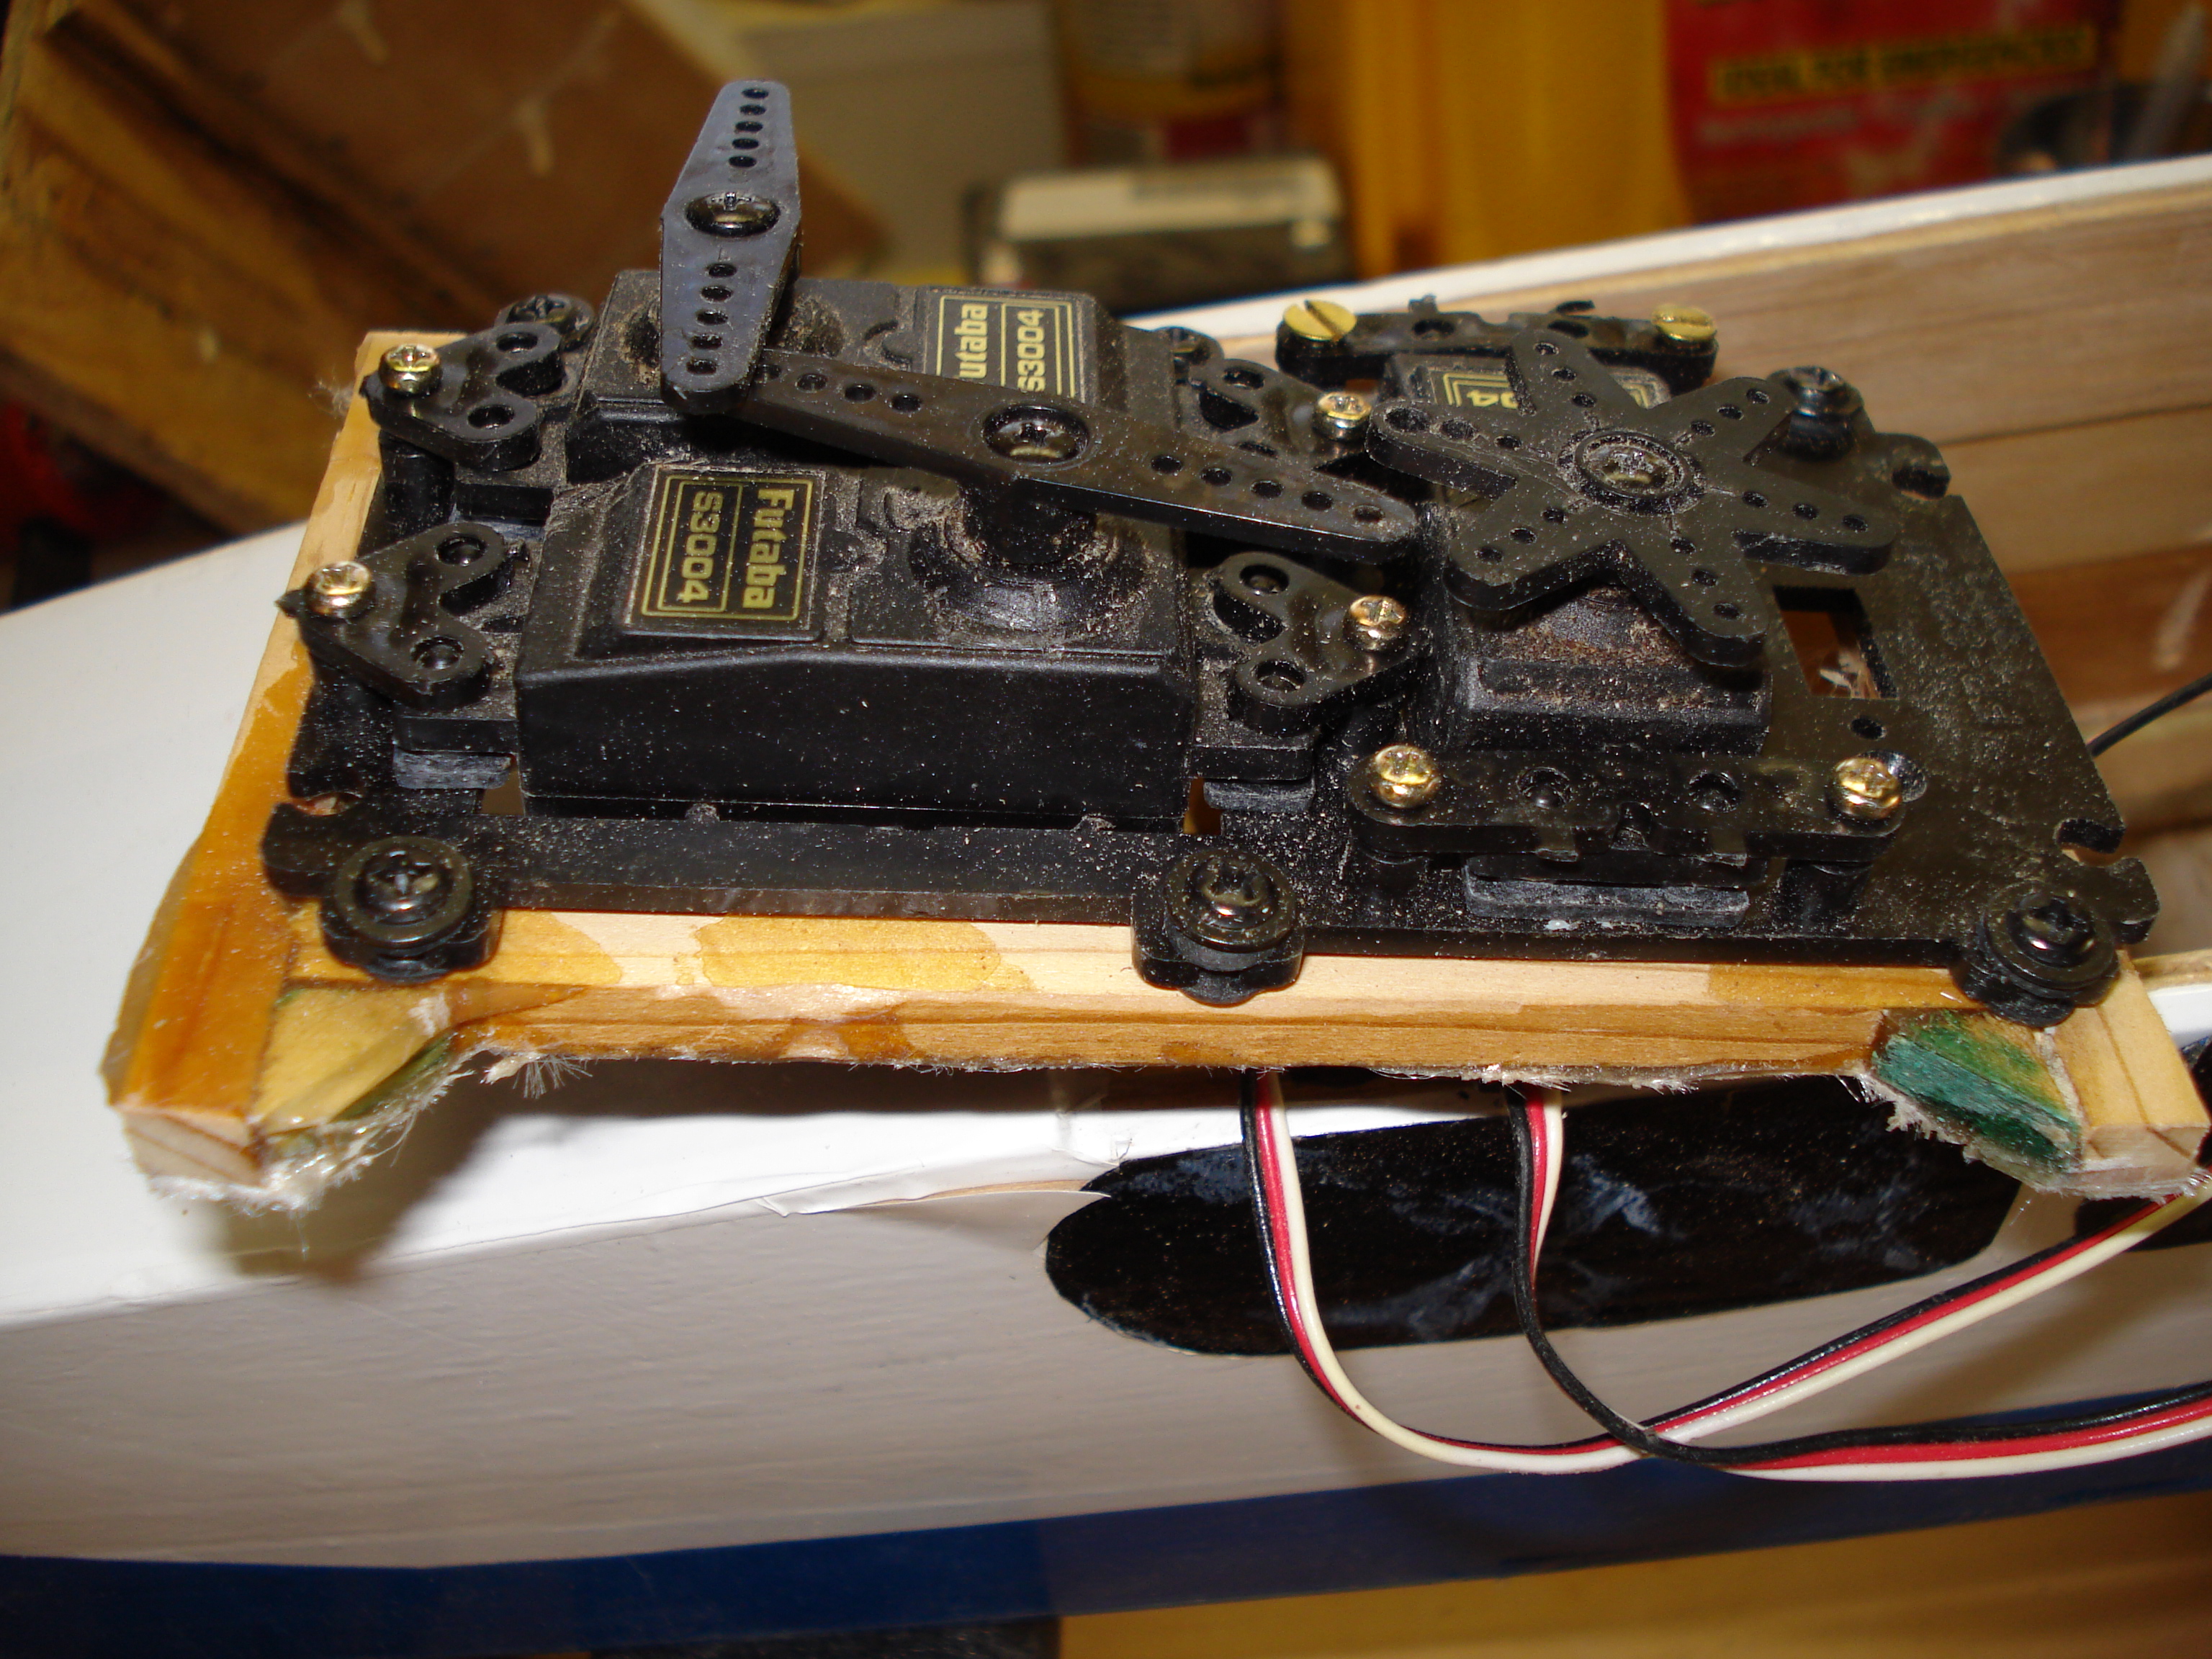
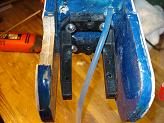
I read a few reviews that made reference to the fact, that the PT-40 is a bit tail heavy.  I decided to build what was supplied, but then just for fun I built an open form stabilizer.  I added elevator stock and nylon hinges. 

Next I assembled the rudder as instructed in the manual that appears to be ok. As you have seen I can't leave anything alone so I added a 1/16 inch hardwood strip to the bottom of the rudder.  I located all of the wood for the fuselage.  Then set that all aside.
I dry fitted the fuselage parts the using thin CA held and glued the three parts together
.. next doublers where added using CA thick and pinned to the work board to dry.
I let the CA dry then lightly sanded the outside, used balsa filler for the seams and any irregular spots.  Then coated the outside surfaces with Balsarite mixed about 70% thinner to 30% product.  Then sanded with 180 paper to a nice smooth finish.  I coated the inside of the fuselage with 20 minute epoxy. 
Glued the bulkheads inside and merged the sided together.  held in place with tape and a clip.
I decided to change the three point landing gear to a tail dragger.  In making this decision  I needed to add a few pieces of wood.  I cut a 1/4" hobby ply to fit to the under side below the LE above for the landing gear.

I also reinforced the area right in front of the landing gear where the battery pack will be with 1/4" basswood. 

I cut the electric lead wire and added about 10" to it I then wrapping the battery pack in plastic foam and taping it.

I padded the battery area with plastic foam
and snugged the battery into place.

A small piece of ply was also added to the rear section for the tail wheel.

The top section was cleaned and first dry fitted then glued with Thin CA.

The tail top section need some trimming to fit properly

The front windshield was dry fitted.

The plane was sanded with 220 on all sides.  Not to bad for an evening.

Clamped on the nose doublers and glued with 30 minute epoxy.

Opening at F1 needed to be enlarged to  allow the tank to slip into its compartment.

Hardwood parts for the landing gear where epoxyed and screwed into the 1/4" ply added earlier.   I quarter rounded 1/4" square basswood and glue them on both sides of the landing gear grove.                          <top>

I decided to go with the solid stabilizer and use the wider elevator slab.  Using a carpenters square and a model clam with T pins stuck in the stabilizer I was able to align and glue the Rudder.  I measured the tail sections for squareness and more or less did a good job.  Its hard to align them PERFECTLY.

Picture Coming Picture Coming

I coated the entire fuselage once again with a thinned coat of Balsarite and sanded it lightly with 220 sandpaper.

As you can tell so far, I hardly can ever leave anything alone.  So looking the plane over I decided I'd like a little more style to the plane and thought I'd cure the windshield some.  I glued a 1/4"X1/2 piece of balsa behind the side seams of the windshield and sanded a curve to it as you can see.  Used Microfill and coated it with Balsarite, then sanded again with 220. 

THE WING
Wing assembled quit quickly. 
Looked nice and straight.  That finished the right half.

The whole construction technique was very cleaver. Very little if any fuse about keeping it straight and fitting the parts.

I decided to use two servos for the ailerons. Using 1/8" ply I reinforced the R2 Ribs on either side of the center ribs.

I use hard wood (Red Oak) to build two sets of servo mounts for the aileron servos.  A little
Placing the small blocks under the servo mounting holes, I marked the with masking tape so I could transfer the hole marks to the new reinforced ribs. The two servos where mounted in opposite directions so the work work in opposite directions.

Linkage was installed on the threaded tip from the aileron rods supplied.

Servo hatches needed to be made for future access.  I used 1/8" ply.

The wings where covered with balsa as directed in the instructions.  Ready for sanding.      
You know you can always do things better the second time.  I'd really would love to build this wing again.  I think I could do a much cleaner and tighter job.  Oh well that's part of learning.  On the next plane.  The wing is far from perfect.  I just hope it's strength and uniformed enough to fly well. 
I fiber glassed the center structure and painted the whole thing with 30% cut shellac.  I always do this to give the balsa much more strength. I cut shellac about one third with denatured alcohol and shellacked the whole wing for strength, then sanded it smooth.  Ready for ailerons now
Well I can never leave things alone.  I didn't like that the ends would be flat, sooo I Glue the tapper that I was suppose to use plus two strips of 1/4" balsa to the ends and shaped them into nice end pieces. Better. Now I fit the end aileron pieces from the Aileron stock and rounded  them into the end caps so they flowed nicely. 
Sanded the edges of the ailerons to a triangle shape.   Inserted hinges and dry fitted them with the mechanics.  tested the servo movement. 

Worked on covering the fuselage.  Using Trim Solvent  and Balsarite    Balsarite is applied to the bare wood. It absorbs into the wood to waterproof, strengthen, and increase the adhesion.   Trim Solvent is the Secret to Super Smooth MonoKote-over-Monokote Bonding! I haven't got the hang of it yet.  But I suppose it takes a bit of practice.  hey, "if it was easy everyone would do it"

Next I built a frame from 1/4" hard wood, fiber glassed it and mounted the Dubro servo tray in the frame.  I mounted the servos and screwed the frame inside the fuselage.
Using Black marbleized Contact Paper, I drew and cutout windows. I was told these would be fine.  One gentlemen suggested I paint the edges with finger nail polish which I did.  Well see.
                               <top>
I used my drill press to drill the holes in the engine mount. Cut out the side for the muffler and mounted the engine Mount.   Note in hin-sight I forgot to cut the other side for th needle valve.  I'll get it.


Send comments or advise to
After much research, I decided on a Great Planes P51, I liked the way this went together and the GP P51 is the right size for another OS.46 I have.  I'm reading allot of good things about the kit.  Setting up a P51 Info page.